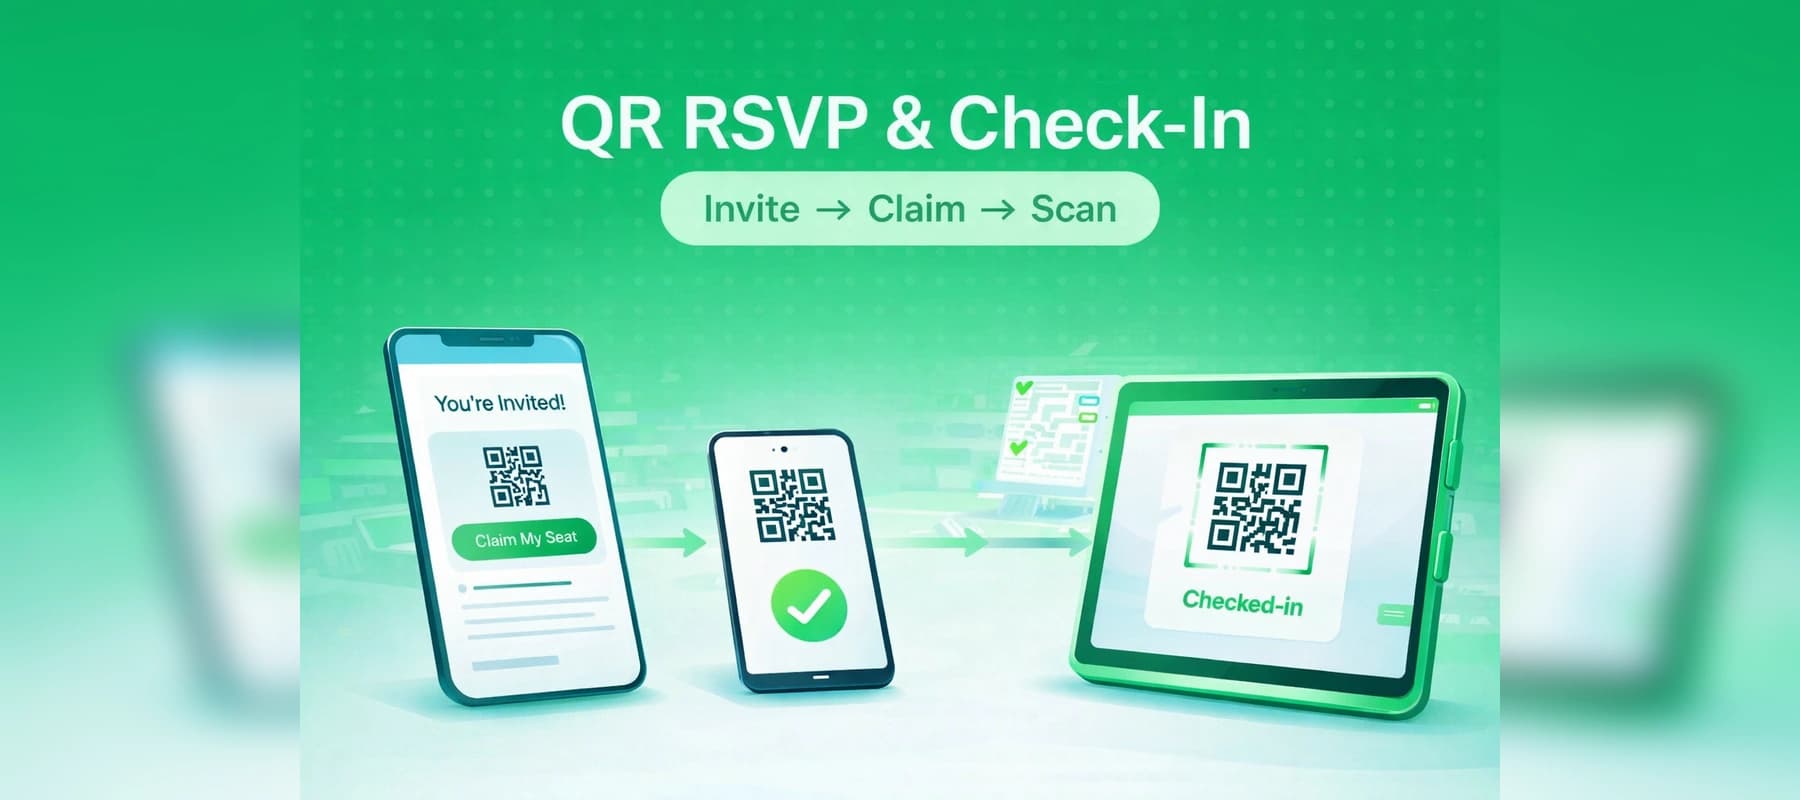
QR entry in SeatPlanning means: you email personal claim links, guests get a confirmation with a QR ticket, and staff scan at the door. Public RSVP (one shared link, name lookup) does not issue those tickets—use QR entry when you want email-based claims plus scan-to-enter.
QR entry and email invitations depend on the chart owner’s paid plan. If something is locked, the owner may need a higher tier.
1. Enable QR entry and set the chart
Go to your chart settings and open RSVP management (RSVP) → Configuration → choose QR entry (not Manual or Public RSVP). Confirm if prompted.
 RSVP Management dashboard with progress metrics, invitation shortcuts, and entry tools
Add tables and seats as you normally would. Under the same RSVP area, set response fields (and any custom fields) to only what you need on the claim form—email stays central so confirmations and tickets can send.
 RSVP Configuration — RSVP type (Manual, Public RSVP, or Digital Ticket & QR Entry) and guest response fields
2. Emails and sending
Once you finalise your seating chart. It's time to send out your invitations. On your seats sidebar, you will find a button that will take you to the email invitations page. In Email invitations, edit two templates: Invitation (includes the unique claim link per guest) and Confirmation (after they claim; can show the QR when QR entry applies). That's it, you are ready to send out your invitations.
 Email Invitations — compose the invitation template with live preview
Send through the email wizard (emails paired with seats, or your usual workflow). Links are short-lived (about a week). Monthly send limits follow the owner’s plan.
 Send invitations wizard showing recipients and send action
3. Guests, scanner, guest list
Guests open the link, submit the form, then get the confirmation with the QR to show on a phone. Ask them not to forward single-use links if that applies to you.
 QR confirmation email with guest ticket code ready for entry scan
On the day, Scanner in the RSVP sidebar (owner or editor/admin): scan the code, confirm check-in. Duplicate scans show already checked in.
In Guests, filter by claimed/entered, reset check-in if needed, or resend the ticket email.
Quick fixes
- Link “does not work” → often expired; resend an invitation.
- No QR on the ticket email → QR entry still on, and claim completed.
- Scanner won’t open → feature enabled for the chart, supported on the account, correct role, signed in.
- Invitations disabled → keep RSVP required on for that chart.
That’s the loop: configure → invite → claim → scan → tidy up on the guest list.