Once your seating chart has guests on it, the next step is getting invitations in front of them. SeatPlanning sends those emails straight from your guest list, no separate mailing tool required. Here's the shape of the whole process, with a link to the full step-by-step guide at the end of each part.
1. Pick how guests will RSVP
Your chart's RSVP mode decides what an invitation does:
- Manual Management Only: no public page, no invitations. You track attendance yourself.
- Public RSVP: everyone gets the same shareable link and confirms or declines by finding their name.
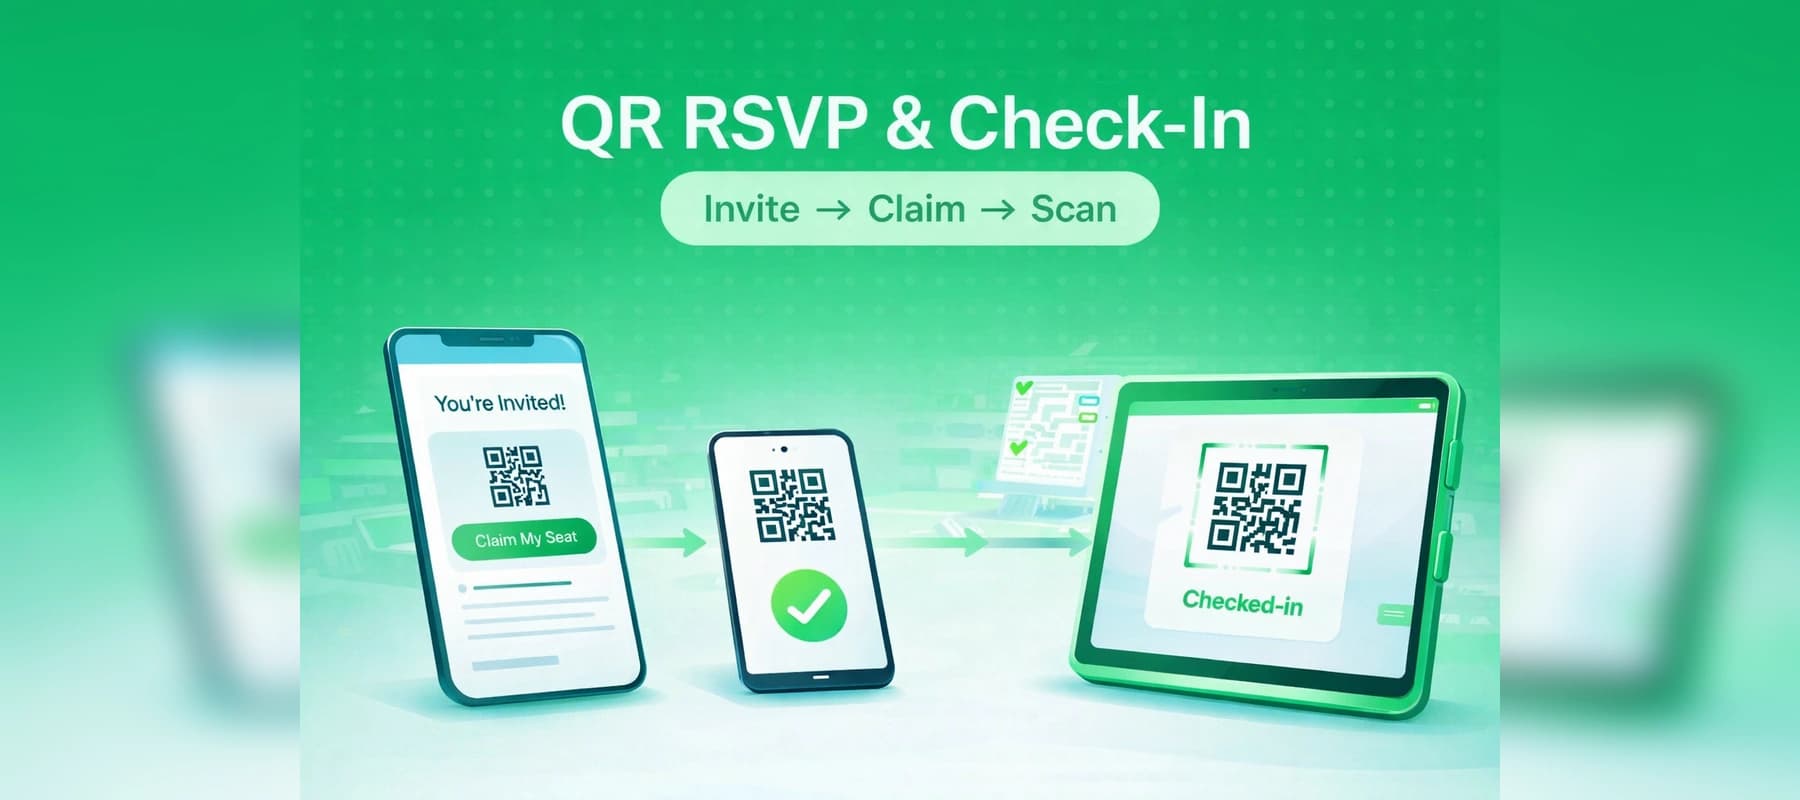
- Digital Ticket & QR Entry: each guest gets a personal claim link by email. Once they claim their seat, a digital ticket with a QR code follows automatically, ready to scan at the door.
You pick this from the Invite Hub, which opens once your chart has guests on it.
 The Invite Hub asking how guests will RSVP
2. Design your invitation and confirmation emails
Every chart has two separate email templates: Invitation, sent the moment you hit send, and Confirmation, sent automatically once a guest claims their seat (QR mode only). Both come with a working default, so you can send right away, or customize the subject, logo, colors, and wording with a live preview beside your edits.
 The invitation email editor with a live preview
3. Choose recipients, and invitations vs. tickets
Pick who gets this send: guests still unassigned, or guests already seated at a table. In Digital Ticket & QR Entry mode, you also choose what to send. Invitations ask guests to claim their seat before they get a ticket. Tickets skip that and mail the QR code directly, useful when you already know who's coming. A warning flags any seats missing an email address before you send.
4. Review, then send
The last step recaps the recipient count, the template, and exactly where the button in the email leads, since sending is immediate and can't be undone. Once it looks right, send.
5. Track what went out
A dedicated Sends tab lists every batch you've sent, newest first, with its status and a live progress bar as delivery happens. If a send ever stalls partway, it shows up there with a Resume button, and resuming never duplicates mail that already went out.
Read the full guide
This overview skips a lot of detail on purpose. For the complete walkthrough, including screenshots of every step, what the missing-email and typo warnings look like, and how the Manage Templates tab works, see How to invite your guests: the complete guide in our help center.
If you're setting up QR check-in specifically, our guide to QR entry, RSVP, and email invitations covers the claim-to-scan flow in more depth.