Crea tu primer plano de asientos
El asistente de configuración te guía para nombrar tu evento, añadir mesas, elegir qué datos de los invitados recoger e importar tu lista.
Cuando creas un plano nuevo, un breve asistente te guía por lo esencial para que empieces con una base que ya se ajusta a tu evento. Puedes saltarte los pasos opcionales y completarlos más tarde.
Selecciona Crear nuevo plano desde tu panel para empezar.
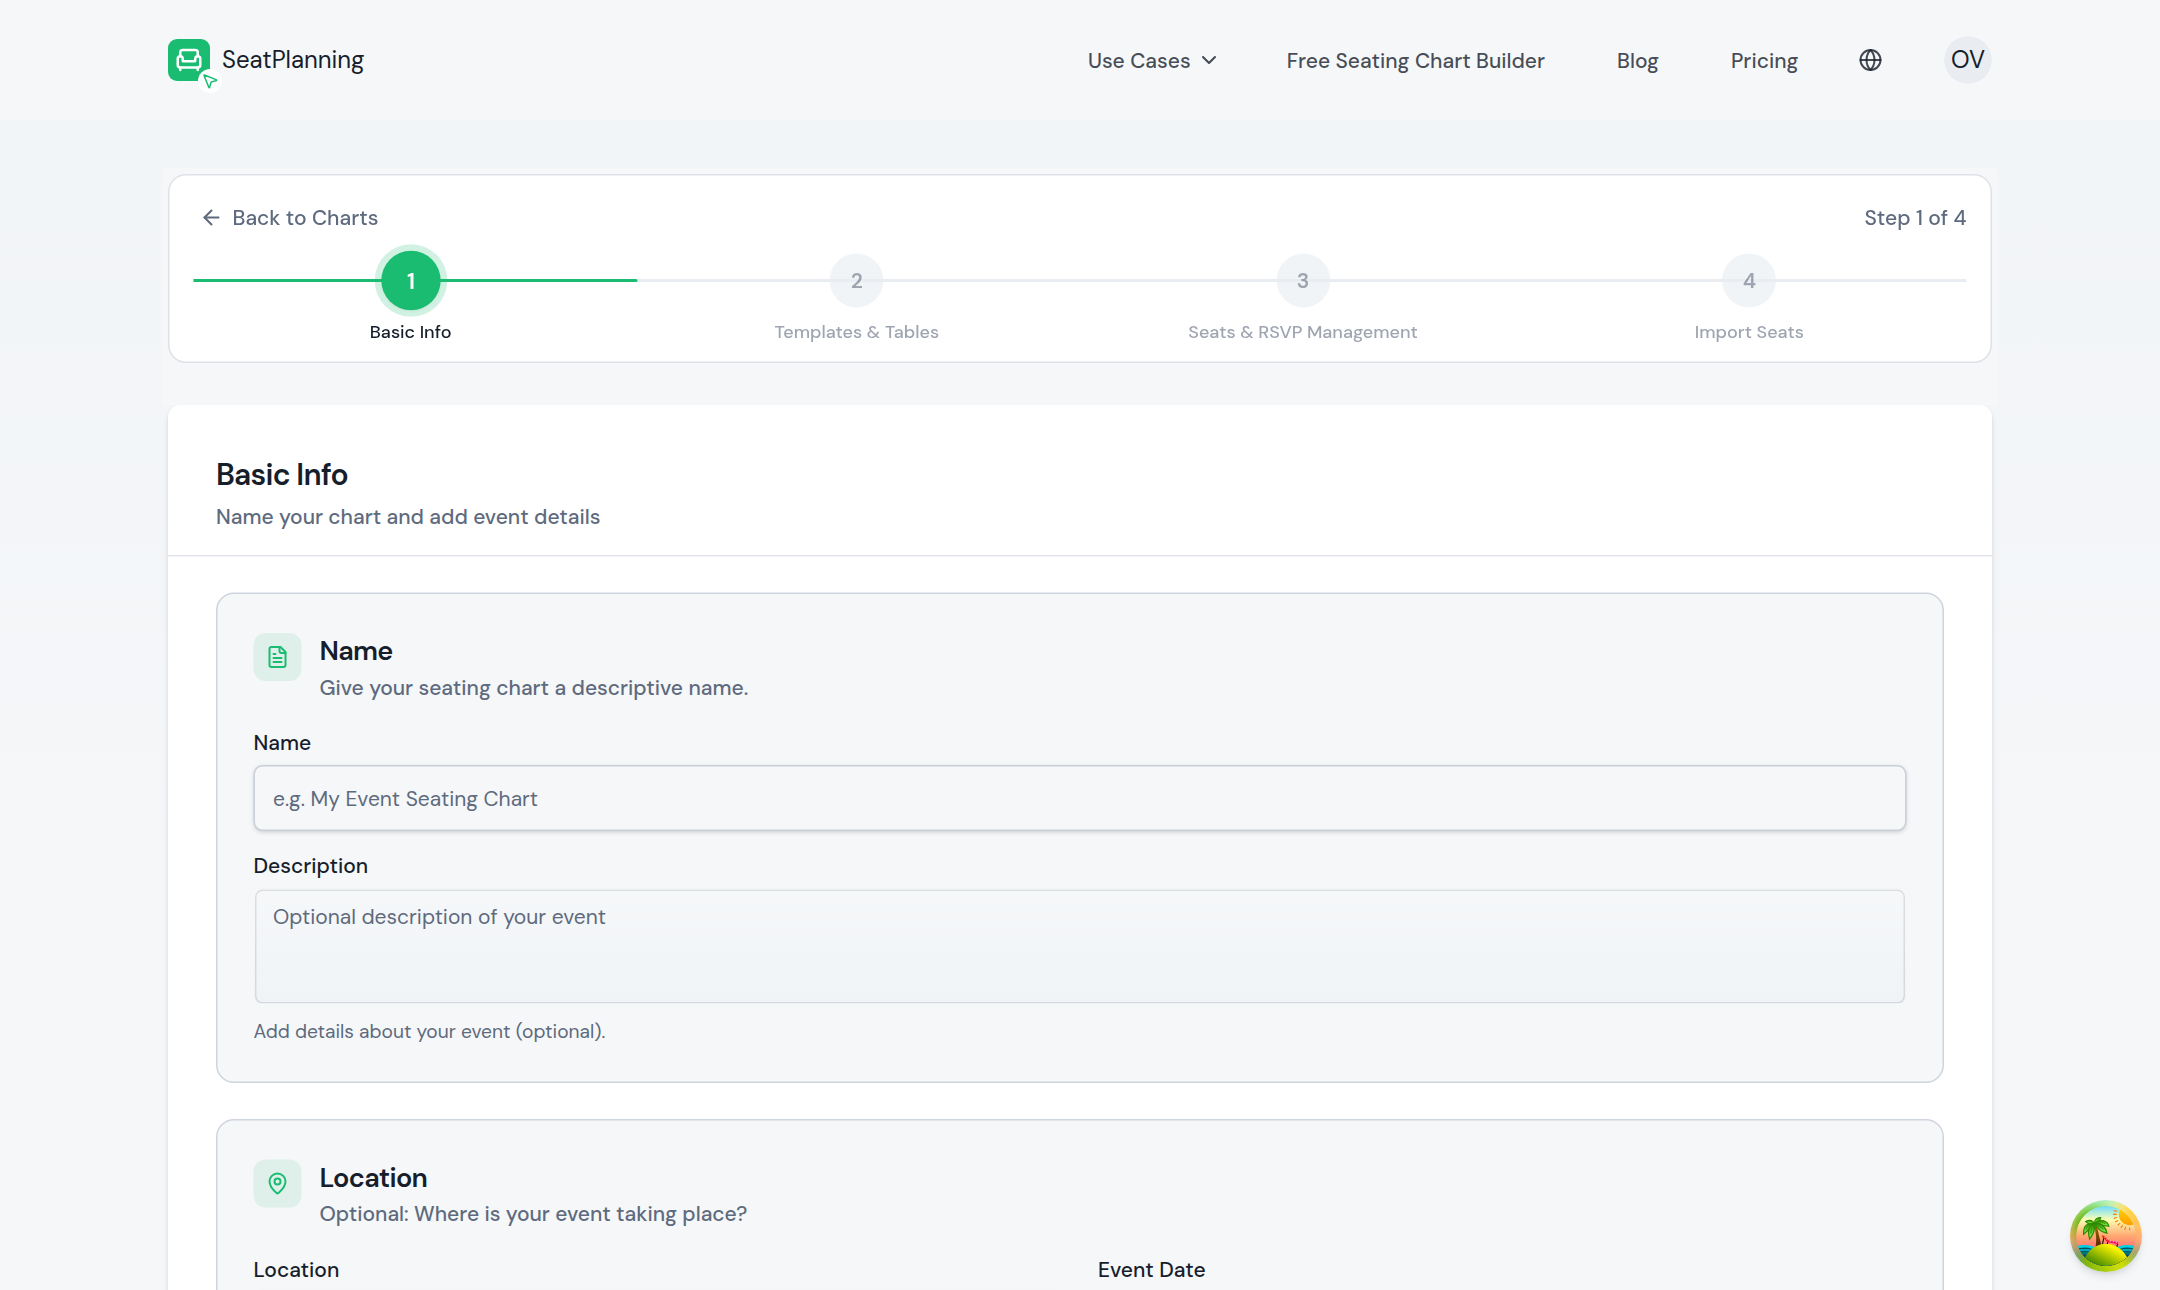
- 1El indicador de progreso muestra dónde estás. Estás en el paso 1 de 4.
- 2Dale un nombre a tu evento. Es lo único que necesitas para empezar.
- 3Añade una descripción opcional.
Paso 1: Datos del evento
Dale un nombre a tu evento para poder encontrarlo más tarde, y añade los datos que ayudan a tus invitados:
- Una breve description.
- La date.
- La location, con sugerencias de direcciones mientras escribes.
Estos datos también aparecen en tu página pública de confirmación si decides recoger respuestas, así que merece la pena rellenarlos.
Paso 2: Plantillas y mesas
Este paso es opcional. Puedes partir de una plantilla de diseño ya hecha, o añadir algunas mesas ahora y definir su capacidad para adelantar trabajo. Si prefieres construirlo todo a mano en el editor, sáltate este paso y continúa.
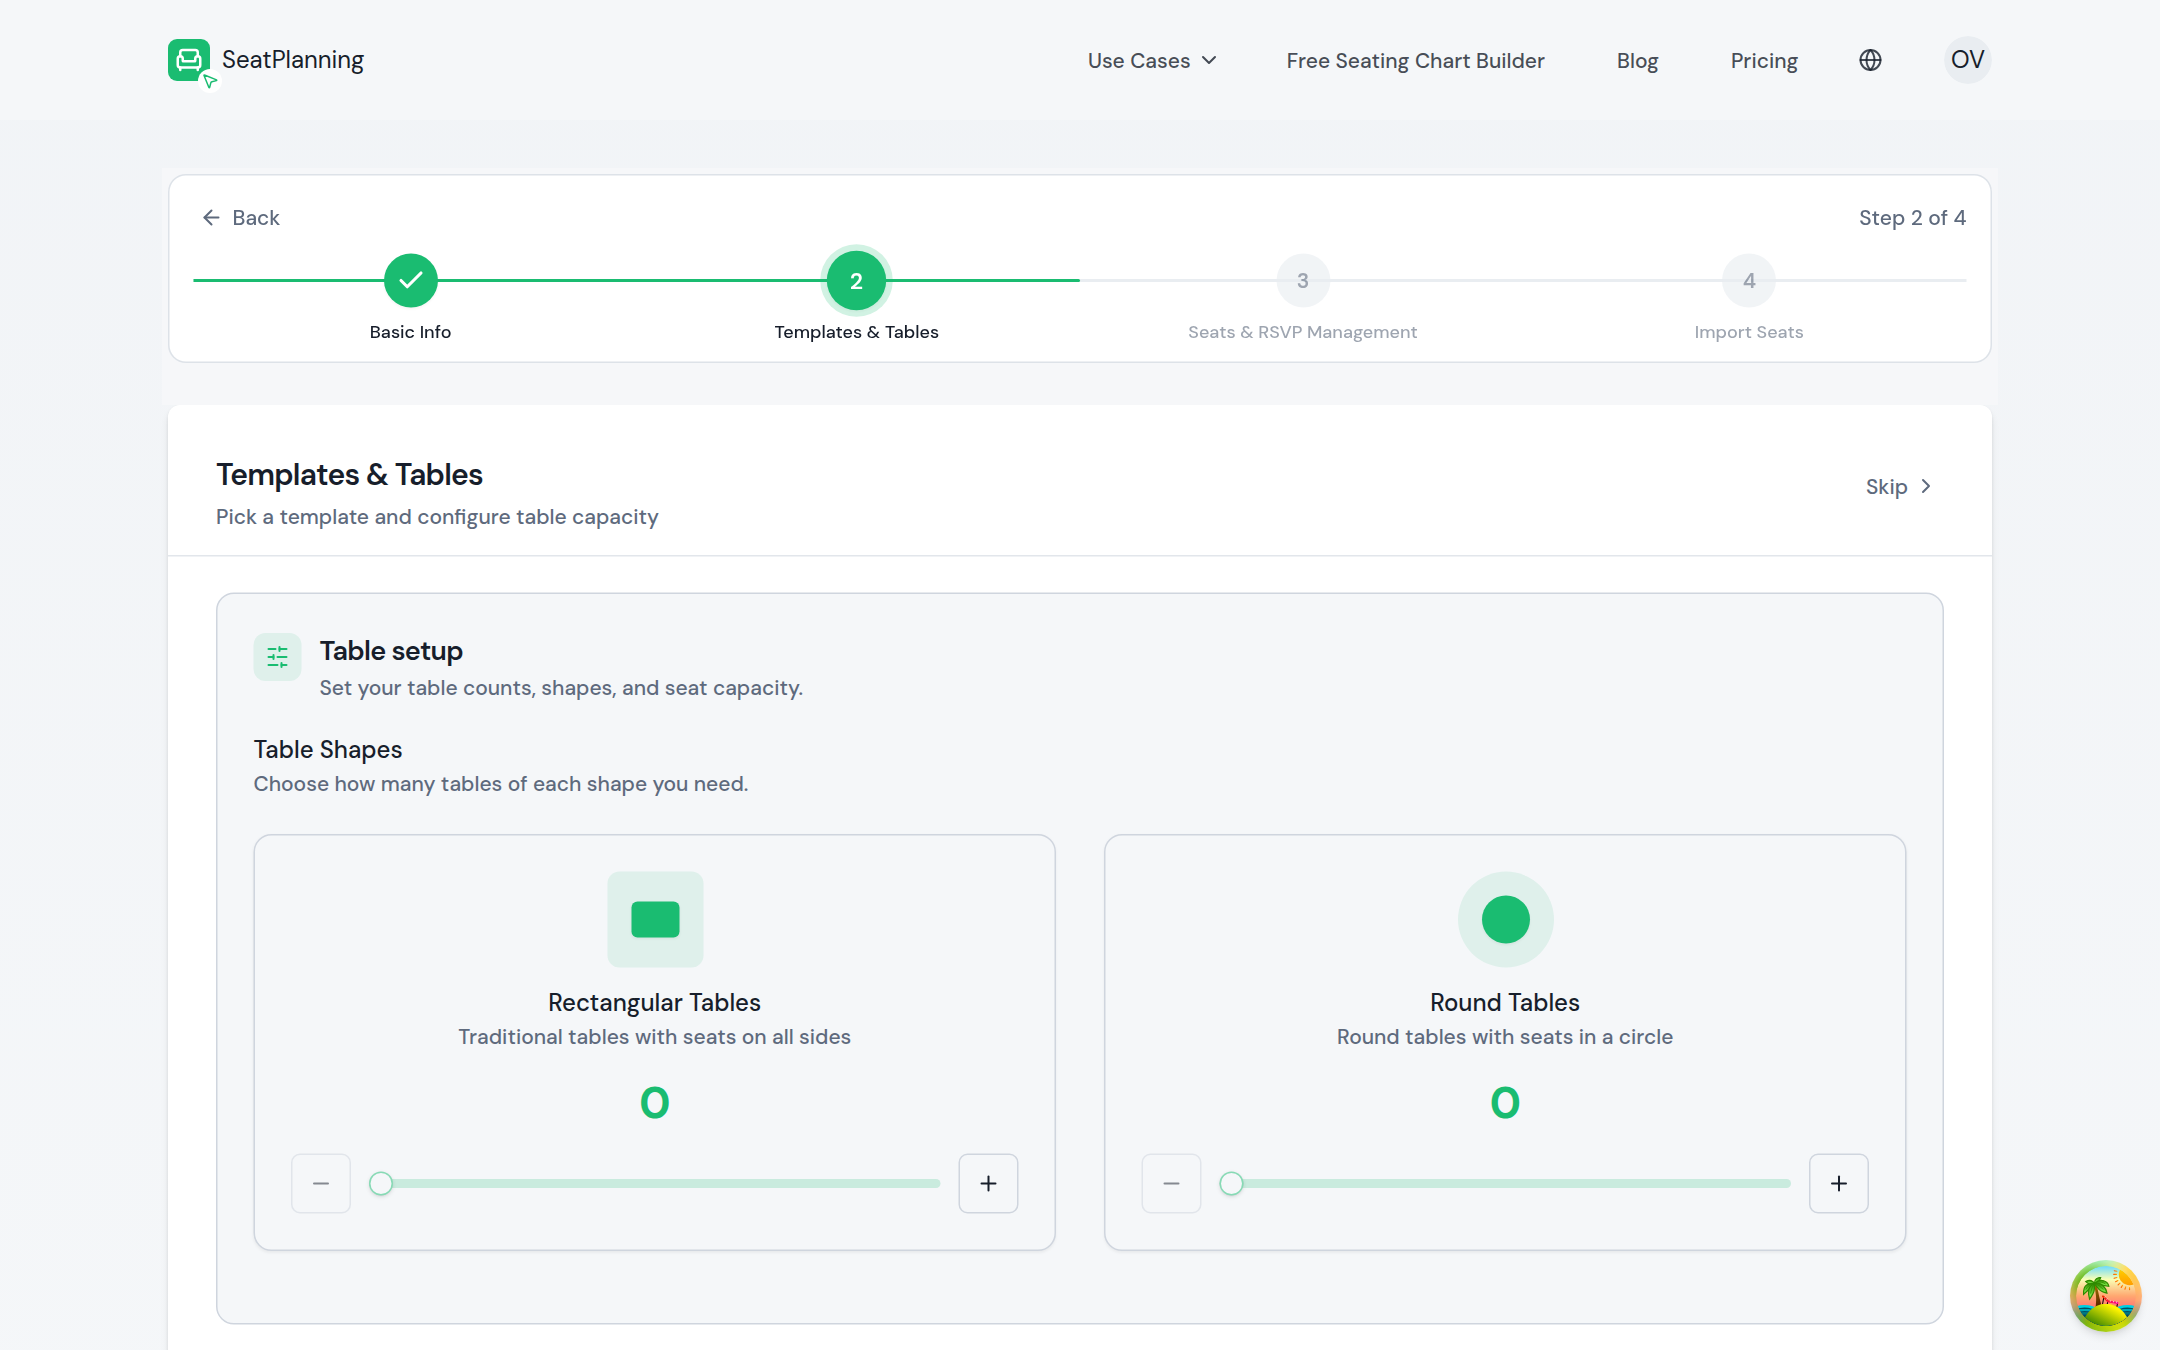
- 1Paso 2 de 4: plantillas y mesas.
- 2Añade mesas rectangulares o redondas, o sáltate este paso y créalas más tarde.
Paso 3: Gestión de asientos y RSVP
Este paso cubre dos cosas: cómo responderán los invitados, y qué quieres saber de cada uno de ellos.
- Elige un modo de RSVP: Solo gestión manual si vas a gestionar tú mismo a cada invitado, RSVP de autoservicio si los invitados deben confirmar por sí mismos desde su propio enlace privado por correo, o Ticket digital y entrada QR si quieres emitir entradas escaneables. Consulta Elegir un modo de confirmación para más detalles sobre cada uno.
- Decide si Apellido, Correo electrónico y Teléfono son obligatorios, y añade tus propias preguntas personalizadas, como la elección de menú o una necesidad dietética.
Recoger los datos adecuados aquí te evita tener que perseguir a los invitados pidiéndoles información más tarde.
Paso 4: Importa a tus invitados
También es opcional. Si ya tienes tu lista de invitados en una hoja de cálculo, puedes importarla ahora para que tus invitados estén listos para sentarse. Para una guía completa, consulta Importa tu lista de invitados desde Excel.
Ya está listo
Cuando termines, tu nuevo plano se abre en el editor. Desde aquí puedes organizar las mesas, sentar a tus invitados y activar las confirmaciones cuando estés listo.
Y ahora, ¿qué?
- Importa tu lista de invitados desde Excel para añadir a todos de una vez.
- Elige un modo de confirmación cuando quieras invitar a tus invitados.