Définir le nom, la date et le lieu de votre événement
Remplissez la première étape de l'assistant de configuration : le nom de votre événement, une description facultative, la date, et un lieu que vos invités pourront trouver.
La première étape de l'assistant de configuration demande les bases : comment s'appelle votre événement, quand il a lieu, et où. Ces détails vous aident à suivre votre plan, et ils apparaissent aux invités si vous collectez des RSVP.
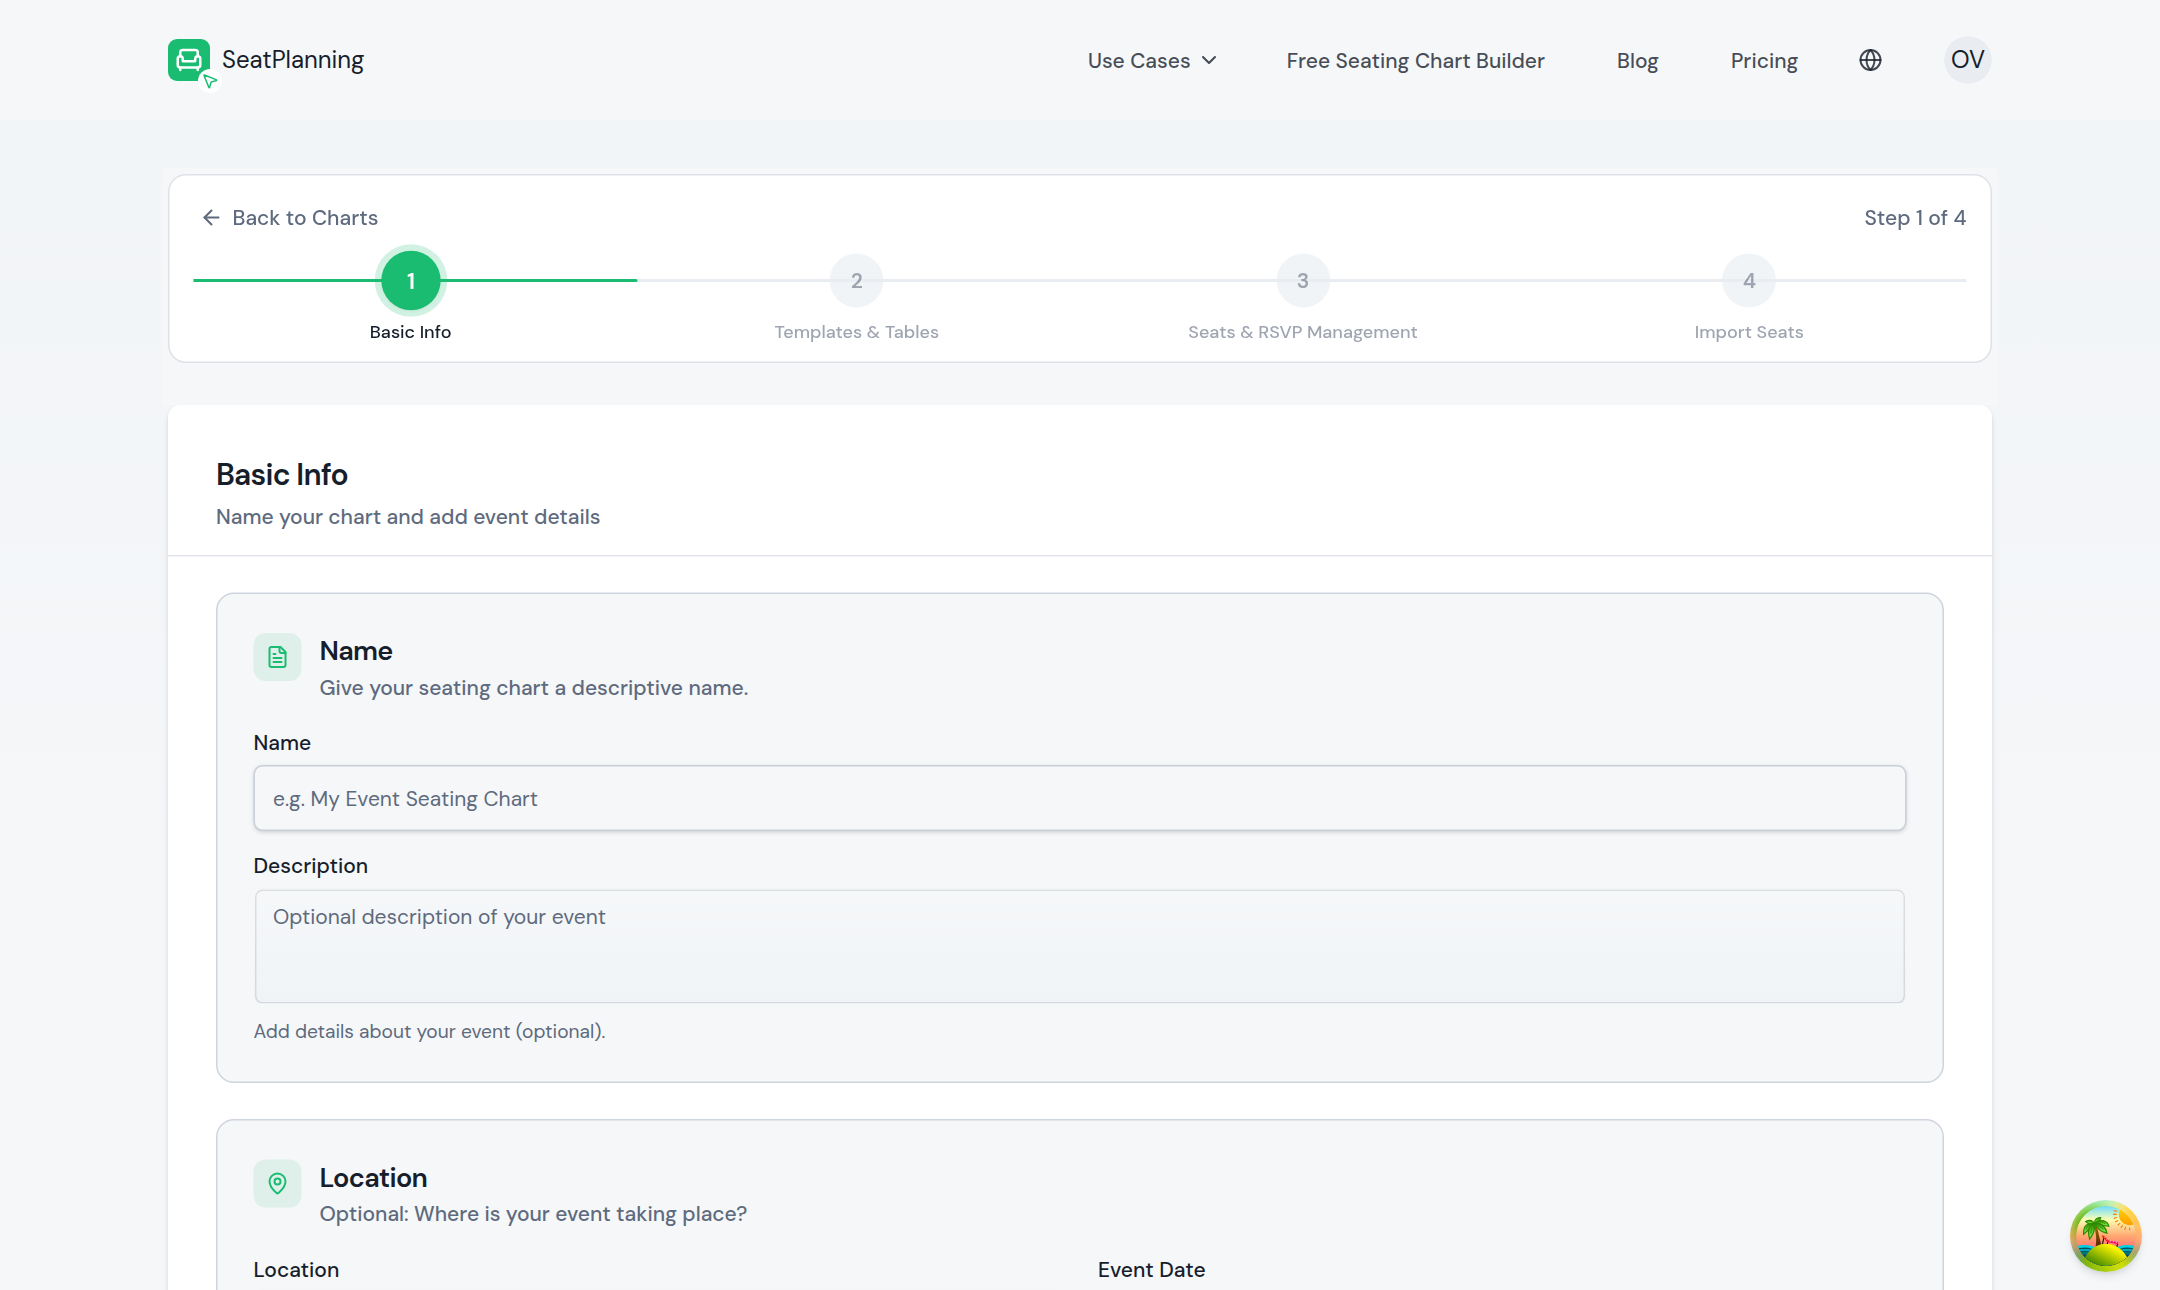
- 1Donnez un nom à votre événement.
- 2Ajoutez une description facultative.
Nommez votre événement
Saisissez un nom dans le champ Nom. C'est le seul champ à remplir pour avancer, choisissez donc quelque chose que vous reconnaîtrez plus tard, comme « Mariage de Sarah et Tom » ou « Lancement des ventes T3 ».
En dessous, vous pouvez ajouter une Description facultative. Utilisez-la pour tout ce que vos invités devraient savoir en un coup d'œil, comme un code vestimentaire ou un petit mot de bienvenue. Vous pouvez la laisser vide et en ajouter une plus tard.
Ajoutez un lieu
Le champ Lieu suggère des adresses pendant que vous tapez, vous pouvez donc rechercher un établissement ou une adresse et choisir la bonne correspondance plutôt que de tout saisir en entier. Si vous préférez indiquer une zone générale, comme uniquement le nom d'une ville, saisissez simplement cela plutôt qu'une adresse complète.
Le lieu est facultatif, mais le renseigner maintenant vous évite une étape plus tard, surtout si vous prévoyez d'inviter vos invités via une page RSVP publique.
Définissez une date
Sélectionnez le champ Date de l'événement pour ouvrir un calendrier et choisir le jour de votre événement. Ceci est aussi facultatif à ce stade. Si votre date n'est pas encore fixée, passez cette étape et ajoutez-la une fois que vous la connaîtrez.
Comment cela apparaît aux invités
Si vous activez une page RSVP publique pour ce plan, le nom, la description, la date et le lieu que vous définissez ici apparaissent en haut de cette page, afin que les invités sachent exactement à quoi ils répondent. Si vous laissez le lieu vide, cette section ne s'affichera pas du tout.
Et ensuite
- Choisir les informations à collecter sur vos invités pour l'étape suivante de l'assistant.
- Vue d'ensemble des paramètres du plan pour modifier ces détails plus tard.
- Partager un plan en lecture seule (vue publique) une fois les détails de votre événement définis.