Track responses and filter your guest list
Watch response rates on your RSVP dashboard, then search, filter, and manage every guest from the unified guest list.
Once guests start responding, you need a way to see where things stand and find any one guest quickly. SeatPlanning gives you a dashboard for the overview and a guest list for the detail.
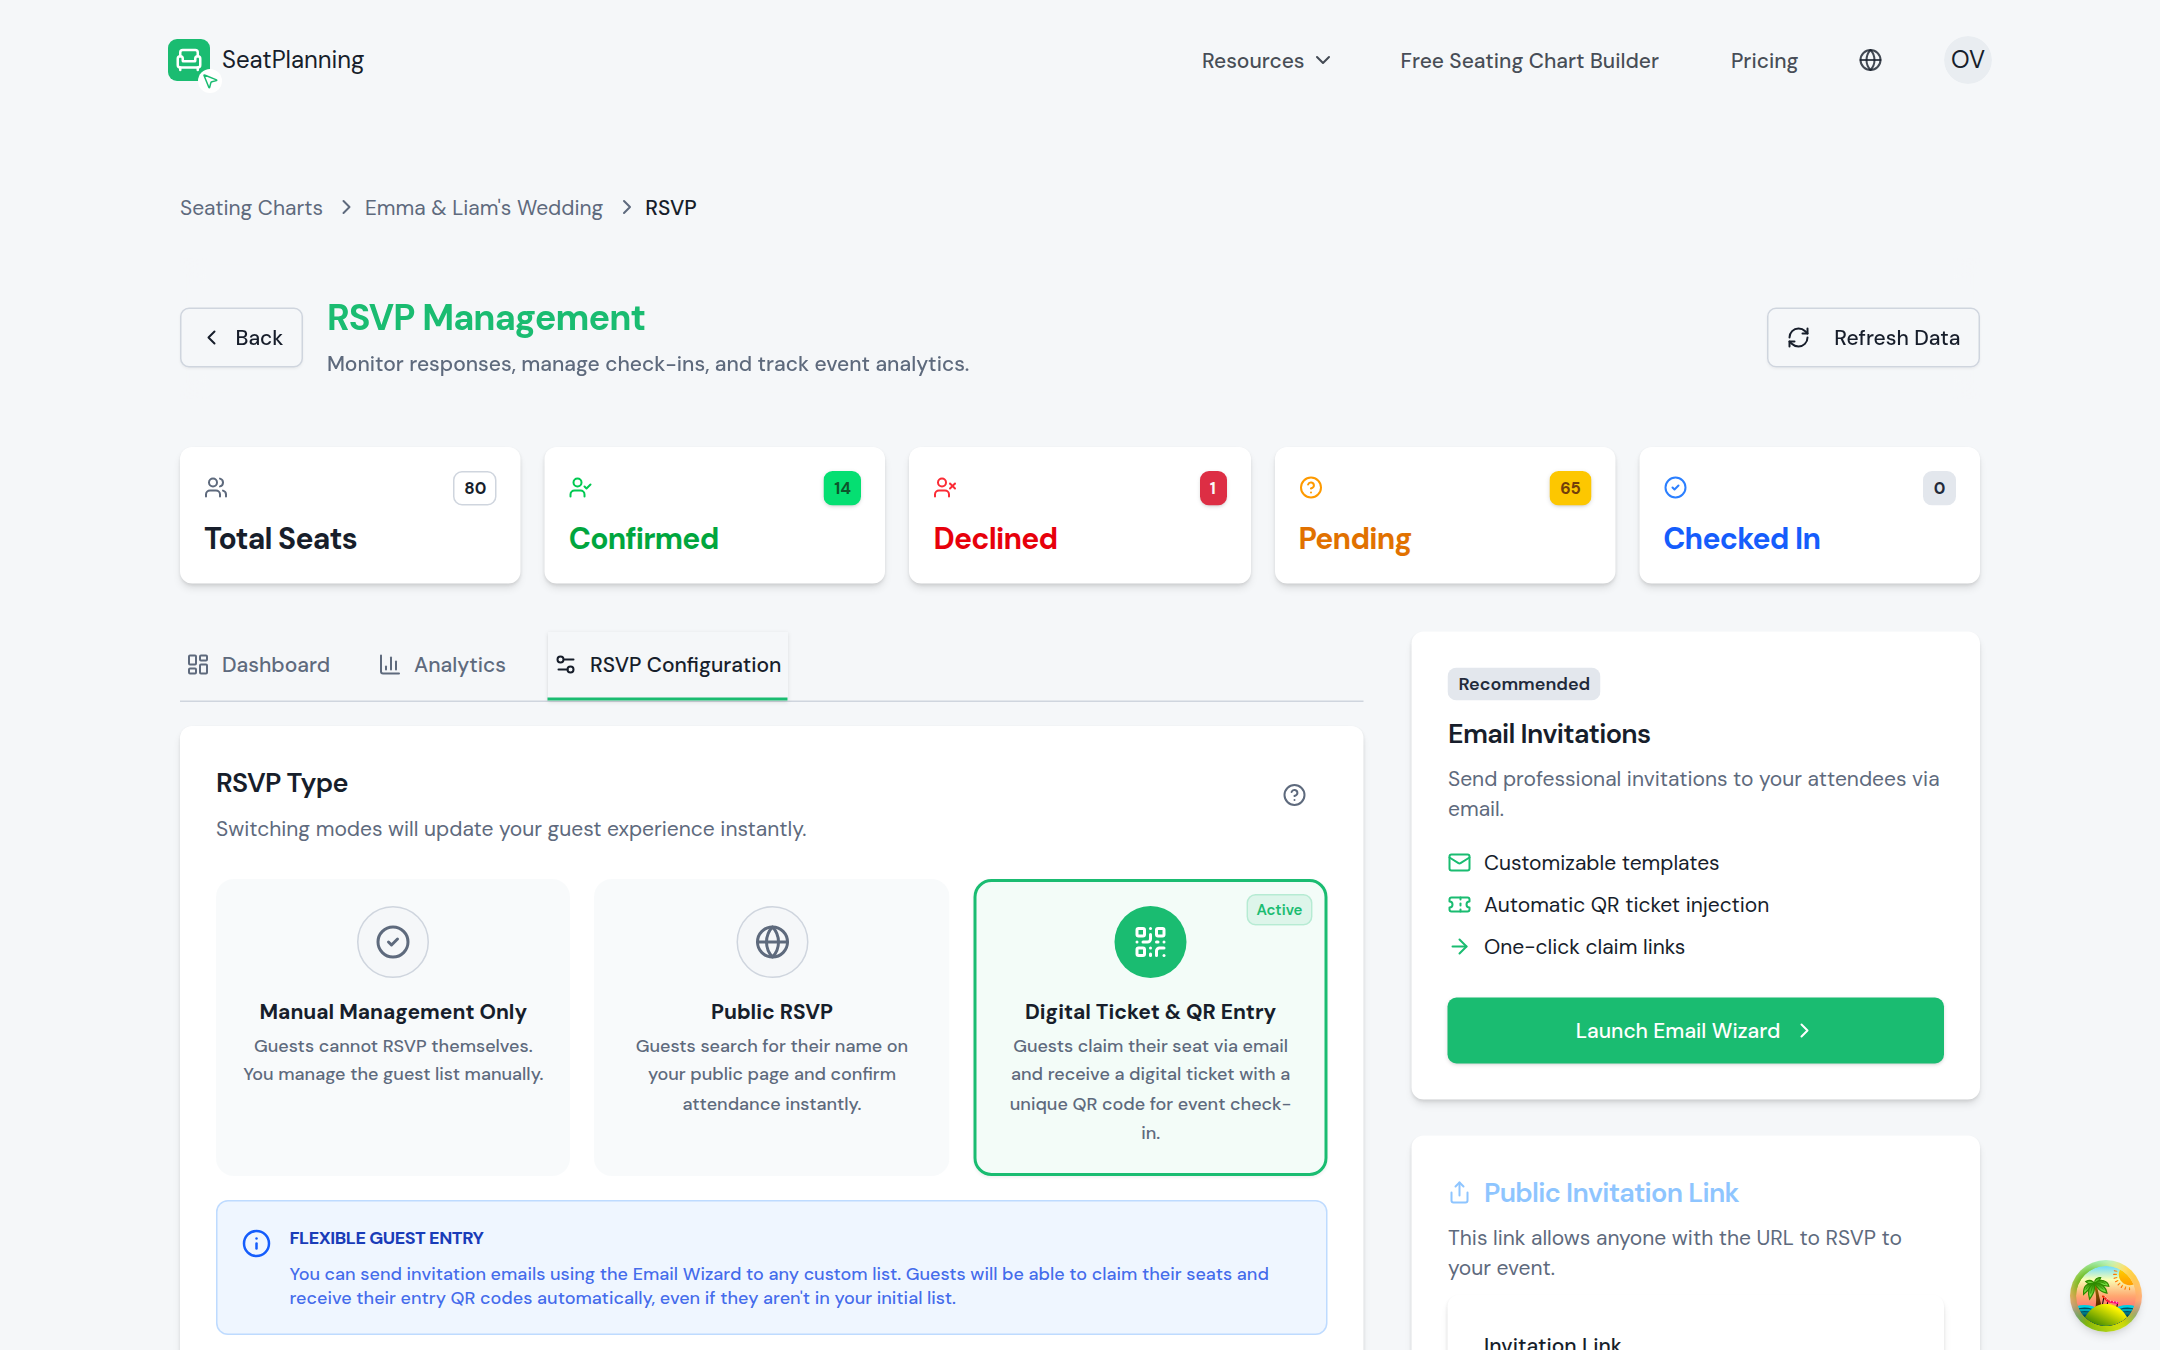
- 1Live totals: confirmed, declined, and still pending.
- 2Switch tabs for the full guest list and analytics.
- 3Send invitations straight from here.
Check the dashboard
Open your chart's RSVP settings and the Dashboard tab shows you:
- Your overall response rate, as a percentage of guests who have replied.
- A check-in progress bar if your chart uses digital tickets and QR entry.
- A breakdown of confirmed, declined, and pending responses, shown as a single bar so you can see the split at a glance.
- Recent check-in activity, if QR entry is on for this chart.
Search and filter the guest list
The full guest list lives on the Seats Management page, reachable from your chart. From there you can:
- Type a name into the search box to jump straight to a guest.
- Filter by RSVP status: all, pending, confirmed, or declined.
- If your chart uses digital tickets, filter by claim status: unclaimed, claimed, or entered.
- Filter by a custom field, then narrow further to a specific answer, such as one meal option, a yes or no, or guests who left it blank.
Clear all filters at once with the reset button next to the search bar.
Manage guests from the list
Each row gives you quick actions:
- Edit Seat to update a guest's details or table assignment.
- Delete Seat to remove a guest entirely.
- Resend ticket email if a guest lost their digital ticket. It only appears for guests who have confirmed and either claimed their ticket or already been checked in.
- Reset check-in to undo an entry scan, useful if someone was checked in by mistake.
Plus-ones appear directly under their primary guest in the list, so you can see who they belong to at a glance.
Export what you are looking at
Select Export to Excel from the guest list to download the list as it currently appears, including any search term and filters you have applied. This is a quick way to get a filtered list, such as only guests who confirmed, or only guests with a specific dietary answer, without exporting everyone.
Where to go next
- RSVP analytics for a breakdown of how guests answered your custom fields.
- Import your guest list from Excel if you still need to add guests before responses start coming in.
- Turn on Self-Serve RSVP if guests are not yet able to respond themselves.